Our Trip and Reviews.
I know this might turn out to be a long blog post. Its been a week since we left Disney, and I'm already afraid that I'm forgetting things!!
Here's what we booked: 6 nights (7 days) at POFQ, 5 day park passes with park hoppers AND water parks and more (I'll talk about this later), Disney Dining Plan and Memory Maker (pictures annotated with ** in this blog, but I did minor edits).
HOTEL:
This trip we stayed at the Port Orlean French Quarter (POFQ).
What I love:
- Only 1 bus stop
- We got a preferred building (Building 4) it was RIGHT next to the bus stop, the main building AND the Pool. It was a little walk from the Boat dock but not bad.
- You could walk to the Port Orleans Riverside (or take a boat) but if you go definitely walk over there for a quick service if you have down time. Riverside has great quick service food. My boys actually liked it better. (we stayed at Riverside last year).
- We loved the pool, it is a themed pool and the boys had a blast on the slide.
- The laundry machines take credit card! I think Riverside (last year) was still quarters. AND Yes I'm a weird person who does laundry on vacation. it makes after vacation MUCH easier.
- Queen Beds! If you didn't know the Value Resorts only have Double beds.
What I didn't LOVE:
- I believe that the busses go to Riverside (4 bus stops) first before going to FQ. That means for extra magic morning hours, we would end up going to the bus stop 30 minutes before park opening and not get on a bus for 45 minutes or more because busses would FILL UP at riverside first and bypass FQ. it was very annoying not to get the Magic Hours at the park, or only to be there with 10 minutes left of Magic Hours.
- Lack of the Murphey Bed, I knew this ahead of time, but Riverside has a murphey bed and FQ does not. the Murphey bed was nice when cullen was younger especially, add a gaurd rail (just ask for them) and its like a crib. Not having the Murphey bed was actually nice cause we had a dresser and it made for better organization.
Parks (and our Dining)
Our first night was a travel night, so we just went to Downtown Disney (DTD). The first thing we did was stop at the TShirt place, where you create your own custom tshirt and while you shop it gets printed. The boys were so excited about it. We then ate at Portabellos. I don't have any pictures but I felt I HAD to mention this place because the food was so spectacular. The boys even had healthy food, but I only remember what I got. It was a pork dish and it was soooo good.
Hollywood Studios - Star Wars Weekend
The reason we chose to go in May was because of Star Wars Weekend. We had fun, but man was it busy. I don't have much to say about HS, other than we love it. Caleb loves the Star Wars Ride and he got to ride it at least 3 times, and I think only 1 of those times was the fast pass. Oh and I believe that was the ONLY fastpass+ we used at HS even though we scheduled 3. We had extra magic hours and it even opened up earlier than that (we arrived at 7:30 for EMH to start at 8:00 and it was already open. The boys did NOT do the Jedi training, although we stood in line for a good 20 minutes for it. Caleb didn't want to and Cullen technically isn't old enough (you have to be 4).
We started off the morning with Dining at Sci Fi Dine in Theatre. It was a special breakfast with Star Wars Characters. We got to meet, Darth Vadar, Stormtroopers, and others, all while watching Star Wars movie clips and eating Star Wars themed food! It was great, a little pricey though.

**
After some rides, and some autographs of the beloved Phenias and Ferb and Buzz and Woody. We went back to the hotel for an afternoon swim.

**

**
But by about 4:00 we were ready to go again and we headed back to HS. I had booked the Fantasmic Dinner Package at Mama Melrose which was fantastic. Seriously the food was soooo good. I got the Calamari Starter and got a Ceasar salad for the boys which I ate cause they wouldn't eat a salad / soup or veggies anyway, then I got the Steak which was delicious and finished it off with their dessert platter that the table shares. Cullen got this awesome Speghetti and Meatball Cupcake which looked awesome and I'm sure tasted good too but I was too full to eat any.
We rode the Star Wars ride again, and watch the fantasmic show that evening, it was awesome as always and definitely a show I recommend. Its an earlier night show (9:00 pm most nights i think) and with the fantasmic dinner package you get VIP seating! Oh and the boys got some weapons from Darths Mall of course!

**

**
Animal Kingdom
We also love AK, we went on a Magic Hours day but had bus problems (like one wasn't around when we needed it) so we only got there with 10 extra magic MINUTES left. We were still able to get back to the safari before there was a line. We didn't really use ANY of our FP+s at AK, but that was because we got all the stuff done we wanted to in the morning without any lines.

**
Tusker House
Ok this is definitely a place you want to eat at, and let me suggest the 11:15 time frame and here's why. My kids LOVE breakfast food, I however don't love it (don't not like it but its not a good way to spend your money), however at 11:15 BOTH are served! The breakfast crew is just finishing up and the Lunch Crew is just starting. PLUS its character dining. This seriously made me so happy. I love the food at Tusker house, we went there for dinner last year (non-character meal) and the food was fantastic, guess what? Its the same food lunch and Dinner!!

**
By having Lunch at Tusker house we basically were finished at the park, with the exception of Character meet and great, that I had a FP for, so after that we left, spent the day at the hotel pool, we could have gone to another park but this trip we were trying to follow the boys cues and not push them.

**
pretty blurry memory maker photo, how it turns out blurry at f/5 is beyond me! noone is in focus :(
After AK we went to Downtown Disney (DTD) to go to Disney Quest. Cullen was pretty tired so I headed back to the hotel after just a bit with him via the boat and my Sister and BIL went back via their car and Tony and Caleb ended up staying a bit longer and trecking via bus (apparently the bus took forever!). After a little pool swimming maybe, we took the boat over to Port Orleans for quick service (QS) dinner and then walked back to our hotel from there next to the river. We got back in time for roasting marshmellows at our hotel and then a quick night swim. Our hotel also had movies outside at 9pm but my boys were too tired for that.
Magic Kingdom
Ahh Magic Kingdom, the Mecca of Disney trip goers. We went to the MK 2 times last year and we've done a lot of the things there, but we still managed to do some new stuff this trip. Mostly new rides but there was also a new parade that was fantastic!! First Time rides included the following: Cullen loved the Barnstormer ride, and Caleb loved Splash Mountain, Thunder Mountain, and Haunted Mansion.

**
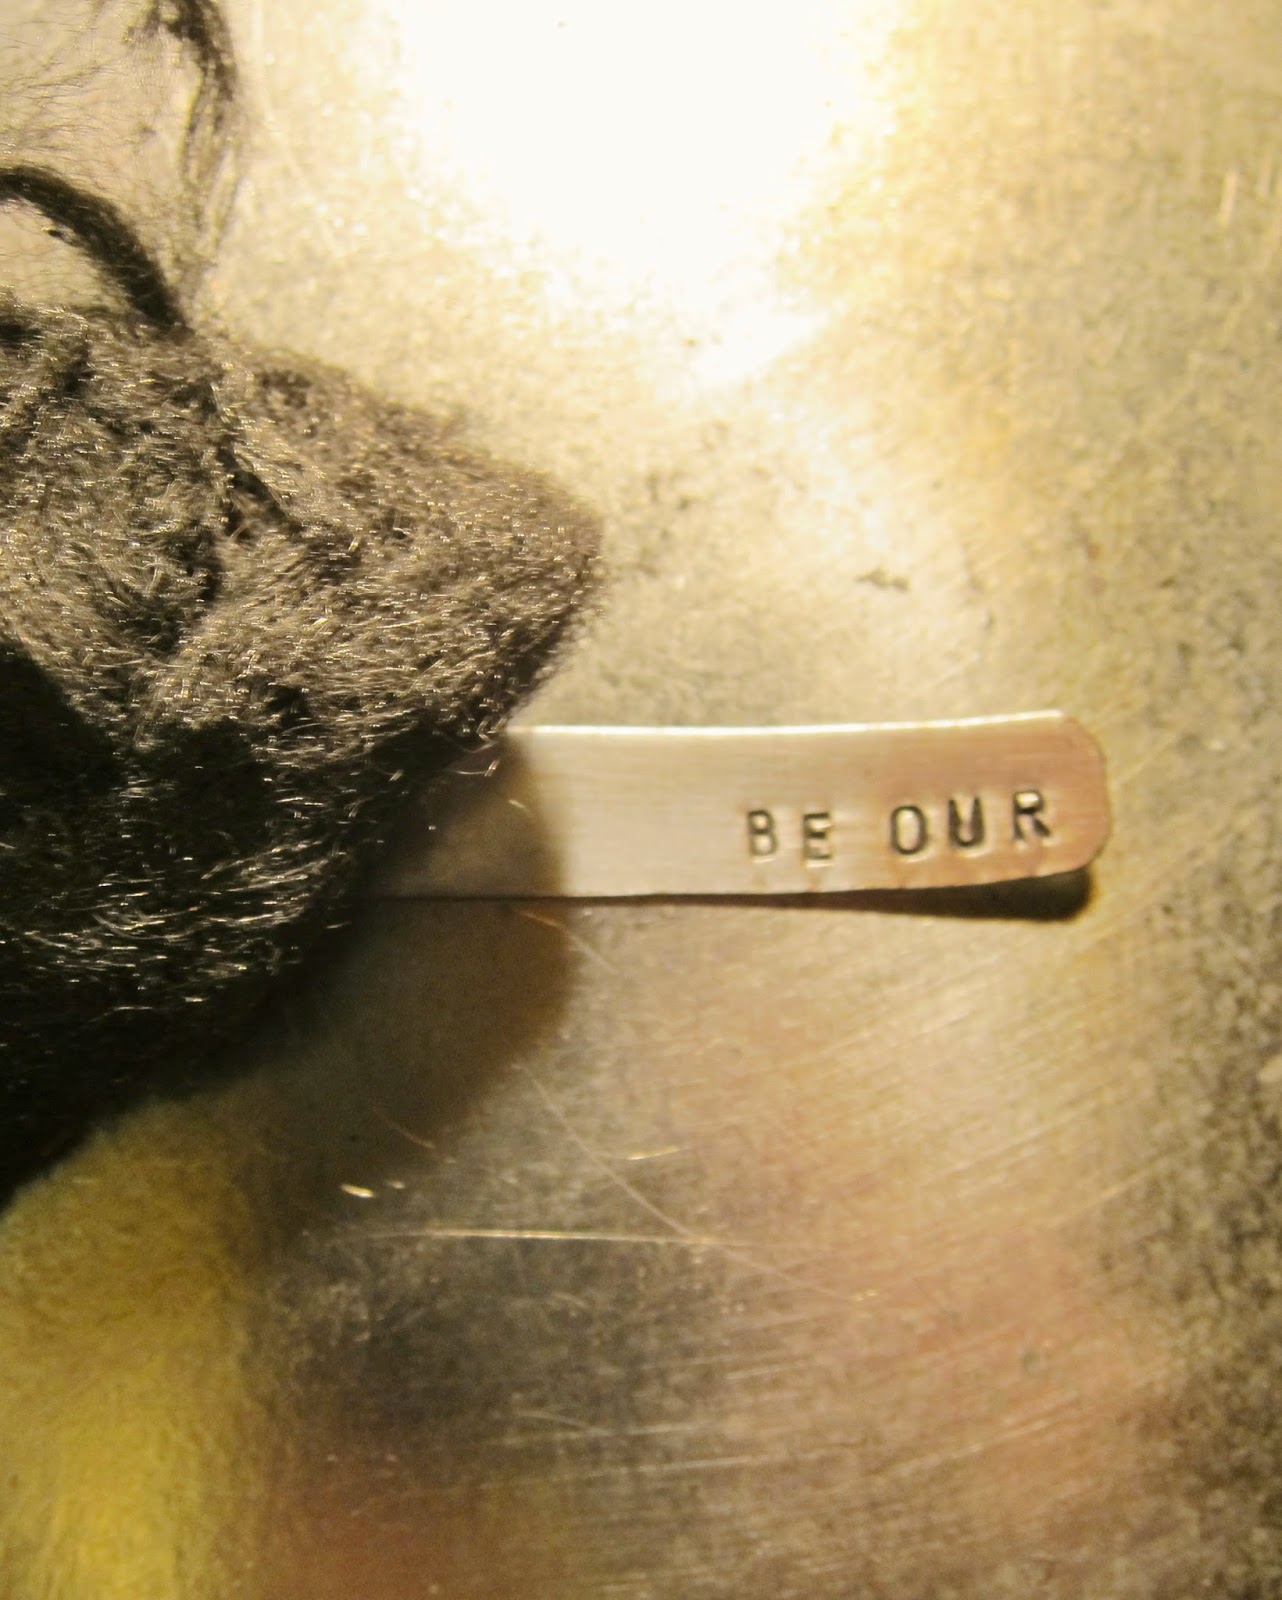
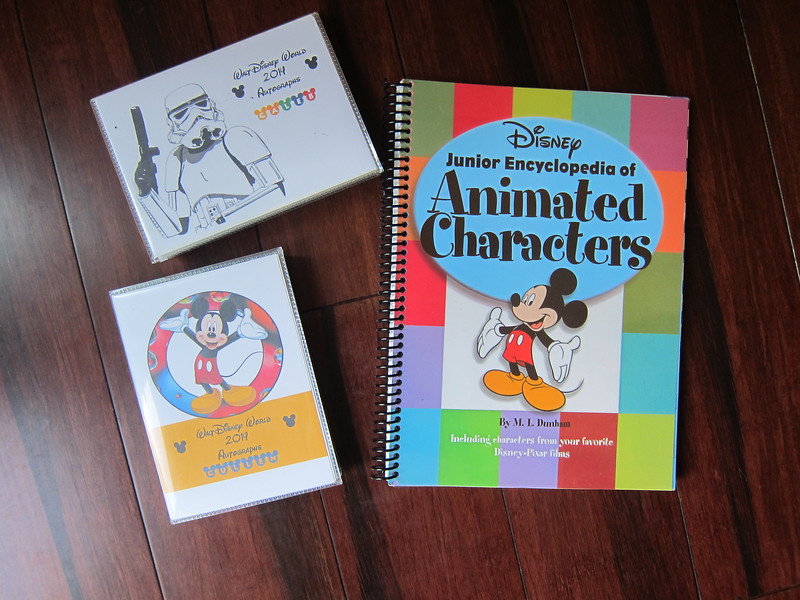
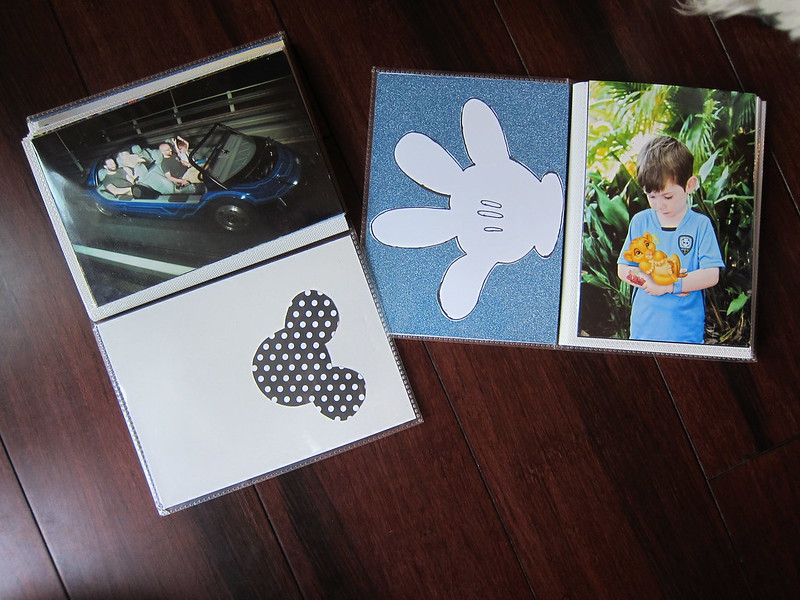
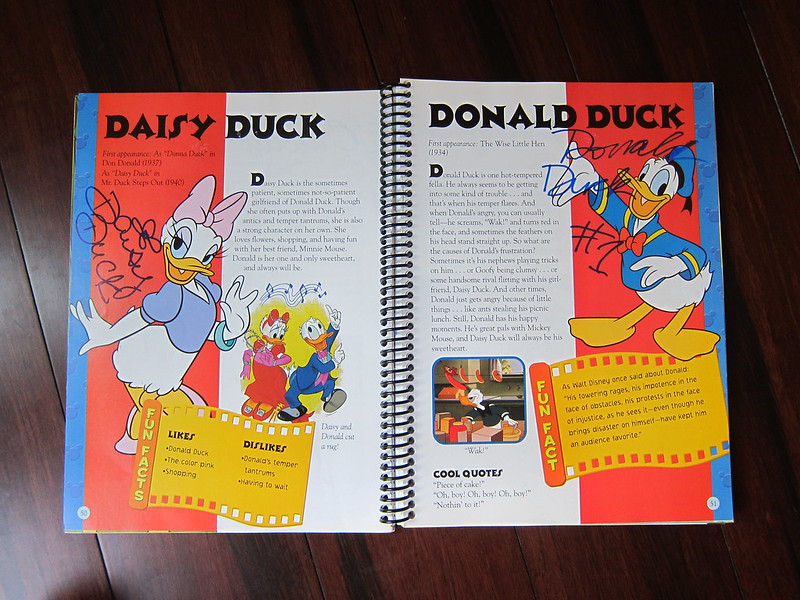
We got some autographs to add to my
autograph encyclopedia, I'll have to blog about that another time, it worked out fantastic. And we did some pin trading and shopping.
For lunch we stood in line for Be Our Guest QS, the food was fantasic, I got a pork dish and the dessert was amazing (I had the gray stuff). The line wasn't too bad, maybe 30-45 minutes but by the time you order and get to a table your food isn't far behind. Plus the atmosphere was definitely worth it, the kids were wondering how it was snowing outside the windows... disney magic of course!
We did not stay for the fireworks but we did do dinner at the Liberty Tree Tavern. It was good, not like awesome or anything and it wasn't a character meal. I did like that it was family style and you could eat as much as you wanted.
Chef Mickey's
The next day we did Chef Mickey's for breakfast and then took the monorail back to MK for the morning. To get to Chef Mickey's we bussed to MK then walked over to the Contemporary, not a bad walk at all, but since we like trying different modes of transportation we took the boys on the Monorail back to MK. Walking is definitely faster!

**
Epcot
This time we were able to get there in time for about 30 minutes of the extra magic hour, although we did end up waiting 45 minutes for the bus before hand which was disappointing yet again!

**
However in that 30 minutes we were able to get a lot done, We went straight back to Fast Track, then to Mission Space, and finally over to Soarin, we had fast passes for all above but didn't use them at all, AND I got rider swap tickets for all the rides incase we wanted to do those. So we could have done each ride 3 times without waiting much at all. After Soarin we went to Nemo, Cullen couldn't do the first 3 rides so Tony took him over to another Space ride and walked around. During Fast Track I took cullen in the back and he was able to design a car back there too.

**
Akershus Royal Banquet Hall
After all the rides we ate at Akershus Royal Banquet Hall, with not 1 but 5 princesses :) yep a total mommy meal. We even got a keepsake photo in a cardboard mat from the restauarant. This was another Lunch booking. I find that I like the Lunch meals, it breaks up the day nicely and allows you to actually plan your morning so that you have a good hard stop if you want to take an afternoon break (which we did).

**
Typhoon Lagoon
This time our afternoon break was to a disney Water Park!! Typhoon Lagoon was the first bus that came around so that's the waterpark we went to, it was a blast. We got there around 2:30/3:00 and it closes at 5:00 so we ended up leaving around 5:30 and heading back to the hotel to change then back to Epcot for dinner in the different countries QS and finally the Epcot Fireworks Show.
So like I said, after Typhoon Lagoon, we headed back to Epcot to grab some QS food around the countries, it was yummy, I choose mediterranian cuisine from somewhere... the boys chose... drumroll.... hotdogs. lol
The Fireshow at Epcot was great, it was our first time seeing it and really all around the lake you can find great places to stand. I guess the difference between Epcot and HS and MK is the seating/viewing, MK kinda is a cluster and everyone is everywhere packed into the main street. Its kind of annoying but at Epcot and HS you can get a good spot practically anywhere.

**
That said, after Epcot Tony and I decided to hop on a monorail and go to MK. My sister and BIL gratiously took the boys back to the hotel in their car and put them to bed! Epcot closes fairly early and MK is open later so Tony and I were able to see the Fireworks and the Electrical Parade, as well as ride some rides, like the Haunted Mansion (which I missed out on cause Cullen was napping) and Pirates Boat ride. We got back to the room close to midnight and crashed.
The final day we took it easy and made our way to Downtown Disney, we wanted to do some pin trading and some final souvenier shopping before we caught our 4pm flight home.
Some final *random* thoughts:
- We walked nearly 50 miles this trip (maybe more cause my fit bit battery died). And I felt like we took it easy. you can definitely clock some miles in the parks.
- Disney Dining Plan, there is a lot said about the DDP, but for us its worth it. I like that it makes our trip all inclusive (the last day we realized we had 14 snacks left, apparently we aren't snackers, which we spent 4 of them in the Chocolate place in DTD! YUM. If you do character meals and like to eat great, the DDP is worth it. Even QS meals can cost up to $50 for a family of 4 (and that's only ordering 3 meals!) But we did have lots of leftover food.
- Memory Maker - Ok having the plan totally made life easier. I didn't have to take out my camera much at all in the parks, it was nice. I was in the moment with my family and having fun. I didn't even bring my 'big' camera this trip. However the quality of the photos is not stellar, some images I love and I think turned out good (after I edited lighting/wb and stuff). Total we took 153 MM images so for $150 I think it was worth it. It was nice to have the ride pictures, and the restaurant meal pictures in there as well.
- Park Hopper - we only used this the one day but paired with the Waterparks and More it wasn't that much more money on our plan, i think it was a total of $250 for both, or $140 for 1 of them. for the whole trip for all of us.
- Water Parks and More. Ok what I didn't know before I paid my bill and locked everything in. You can extend your park days with this essentially. If you book a 5 day park pass and add waterparks you get 5 days of waterparks, that is separate from your regular park pass, so essentially you have 10 days of park passes. Unfortunately I didn't realize this before booking our flights/hotel nights. I probably couldn't have gone down to 3 or 4 park days with parkhoppers and waterparks. Next time though I'll extend our trip to 7 or 8 full days instead of just 5 full days and probably do 4 or 5 park days/waterpark days. The waterparks are fun!! especially if you have fish for kids like me. Oh and this also includes Disney Quest, which my boys like, its a good thing to have considering 1 ticket for disney quest is $60 and this pass is only $125ish when you break it out for all 4 of us.