
I'm happy to report, I made all of these (plus plenty of extra material for 10+ more) for $20 total + Free candy bar!. I did use some things around the 'work room' instead of buying the pricier tools but they worked just fine. None of them are perfect, but I call that character.

So here are the things you need to gather, we'll go over each purpose throughout the blog. And for reference, the $20 I spent were: $10 for the actual letter metal stamps from JoAnns (after coupon), and the $10 on a sheet of aluminum at home depot. Oh and BTW at my home depot, if you order online and pick up in store its $0 extra AND you get a free full size candy bar! YUM Other items gathered: Sanding Block, finer grit sand paper, paint tape (or masking tape), tin snips, steel wool, heavy hammer, mallet, and a vice or something similar or a way to rig something later (My vice has a steel flat 'table' area that I used to hammer the metal letters on, you definitely need something like that OR you can buy a steel bench block like this one.)

First thing is you have to make your metal 'blanks' or you can buy them in different metals at a place like beaducation.com I went for the cheap way first because I had no idea if mine were going to turn out or not. A sheet of aluminum from the local hardware store, cut into strips with the Tin Snips. Tony actually did this for me, didn't take him long at all and he aluminum didn't get all ruined like I thought it would.

I hammer down my strips with the rubber mallet first to get it relatively flat, then I use the tin snips to add a rounded edge to both ends.

Then I use my sanding block to sand down the edges and round the corners better.

Then I use my finer grit sand paper and rub along the cut edges, just to make sure there are no rough edges. For this project I didn't worry about it that much because I wasn't making a bracelet or anything that was going to be worn.

This next step I used my vice as my steel bench block, it worked great. I used the tape to both secure it down to the block as well as create a line for me to us to lay out my letters.
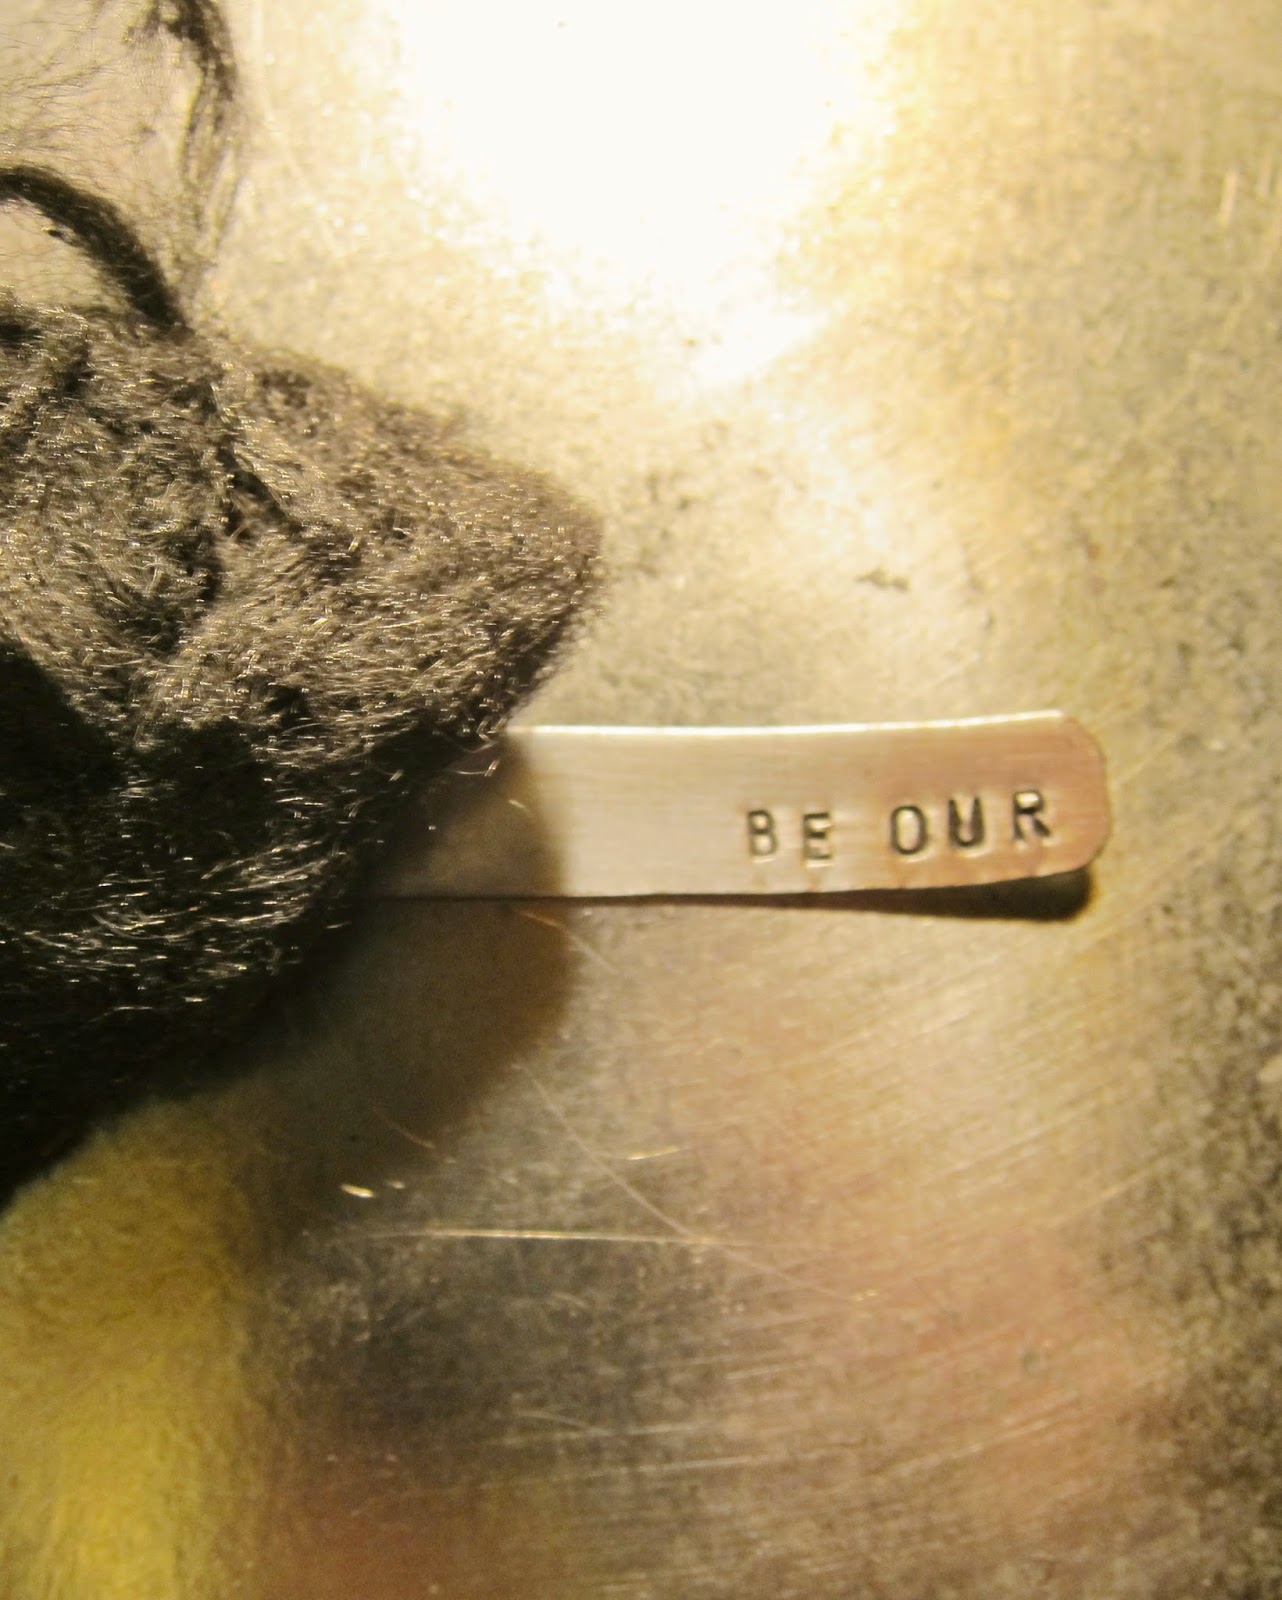
Here is where you get to start working your letters. Pay attention to where you are and what direction your words are going, on this side I'm actually spelling my words backwards.

This napkin ring is going to say "Be Our Guest" after it is curved around, here's the "guest" side. Oops I was a little off with the "U" but that's just character.

Next is the 'blackening' part, you can buy chemicals to do this (Beaducation will tell you how), but I just used a sharpie (another method they mention), color it in really good.

After a quick dry, then use your steel wool, really rub, I even rub the back, it shines everything up nicely.
See!

Now for the bending. You can buy tools to do this, but like I said, I wanted to use what I had. so I took another old hammer with a steel round back end, there's probably a name for this type of hammer but I just found it looking around Hubby's work bench, and I put that in the vice. I quickly started wrapping the whole aluminum piece around it, little by little.

Until it was all done, then I used my fingers and the steel hammer to get it to the perfect shape.

See!

And put it around your napkin!

Close ups of the ones I made my mom (the "Be Our Guest" ones will join after I make the 2nd one).

The sharpie does make it darker, but the light is weird, plus I used my P&S camera for these quick shots, sorry no beautiful product photography today!

